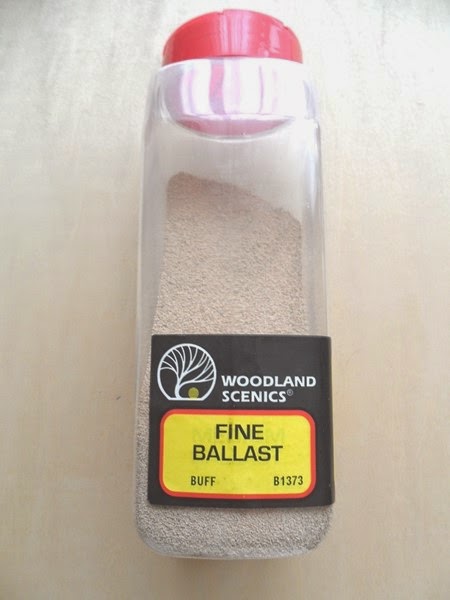
Buff Fine Ballast.
Acrylic Paints.
I brush white glue on the bases first, place the stand in a small container/box of Fine Buff Ballast, and perform swirling actions to cover the whole base while the glue is still wet. Putting the stands aside for 24 hours before moving on to the next phase.
I use Acrylic Raw Sienna to paint and cover the whole Buff Ballast bases.
After priming the Fine Ballast bases, I put aside the stands for 2-3 hours or even wait until the next day for the bases to be completely bone dry. mind you, Brown Fine Ballast would be better to use saves time painting the primer/under coat.
I use Ivory to dry brush over the Raw Sienna
After completing the priming and dry brushing I use Scenic Express Turf Grass
I use tweezers to pick up and position the Turf Grass on the bases. To secure the Turf Grass on the bases I use white glue.
Some of the finished Epirot DBA elements....


Nice basing tutorial!
ReplyDeleteChristopher
Thanks Christopher!
Deletecheers,
Great tutorial, thanks for posting this up!
ReplyDeleteWe're quite similar in our basing technique in 15mm. I agree with you about 2 color highlights in 15mm. You can do more but the payoff is very slight compared to the effort.
Thanks Monty, :o) I'm not to sure about being a great tutorial ;o) but I know what you mean and I appreciate your kind words. its a start for me to do more step by step and how to make articles. (One day I will post how to make your own Turf Grass..but only if you promise not to laugh! :o)
DeleteI concur, any 2 color highlights is the way to go for 15mm figures for DBA, Fields of Glory, Flames of War and Impetves bases, its simple and quick. The other thing I do is, using white or gray paint little dots here and there on the base to suggest rocks/stones.
Excellent. You've done a great job at hiding the figure's base (one of pet peeves) and your double painting of the base and dry brush looks most effective. I generally only single coat as I use a much denser flocking technique (lush fields I call it).
ReplyDeleteThanks Mate appreciate your kind words. This is going read weird, I don't why I enjoy and like brushing the white glue to cover around the infantry feet and horse's hoofs! :o)
Deleteperhaps trying to be to absolute and complete?... anyway.. I know what you mean regarding to "lush fields" did that during the late 70's early 80's with my 25mm Napoleonic's :o) The 2 colour high lights works and I like what I am doing with it.
cheers!
thanks
ReplyDeletesimple with great effect
Thank you Marco..all the best to you sir!
Deletecheers,
Thank you Sir! :o)
ReplyDeletecheers,
Well done , Simple but effective and only two colors.
ReplyDeleteI like how the minis stand out on the base.
Thanks Joe, yeah any two colors will do the trick or job, or even one base color i.e. dark green as the primer and by adding a touch of yellow,not white, to your Dark green you will get a lighter shade of dark green and this will be used as your dry brushing. ...I agree with you, the lighter colors will always make the figures pop out of their bases because the figures have their own colors.
Deletecheers,
Nice tutorial, Phil. I've been using Ceramcoat Burnt Umber as a base and dry-brushing Americana Desert Sand for most of my stuff. Best, Dean
ReplyDeleteThanks Dean, yeah I have used those colors you mention which are great. I even tried a flesh color as primer over the base(sand) and dry brush over it with light ivory (adding white) which looks good to me *grinning*
Deletecheers,
Thanks, always interesting how others do their basing. Especially those that do such a quality job of it. Makes all the difference in the world.
ReplyDeleteThanks Jason, I appreciate your kind words and visit. I have been wargaming/collecting miniatures since late 70's and during those years I always learn-discover something new regarding to painting and basing figures.
ReplyDeletecheers,
Ah interesting, just been browsing through your site looking at all these lovely miniatures, and this basing method is very similar to what I use for my ancients figures too. Except I do as you suggest and just use the brown ballast with single drybrush. Anyway keep up the great work!
ReplyDeleteThanks Mark, appreciate your visit and kind words... I agree with you, brown ballast is the way to go on the bases first and dry brush over the brown ballast with one lighter shade of colour..
ReplyDeletelove your 28mm Perry Napoleonic figures/units, you put in a lot of work with awesome results!
cheers,